The welding machine does not produce laser light, but rather weak light during welding
1. Check if the laser has voltage: 220 for single-phase and 380V for three-phase.
2. Check if the laser alarm light is on. Connect the laser to a computer, open the monitoring software, and view the alarm information. According to the laser alarm signal, handle it accordingly, cut off the power, and restart the laser. The laser not alarming does not mean there is no problem. In principle, once the enable/analog /PWM signals of the control box are sent out, the laser will emit light. Therefore, We can take a look at the monitoring page. In the standby state, the output signal is 0 without any fluctuation. In the working state, the output signal always has a value. This indicates that the control box is normal. The problem lies externally. Contact the laser manufacturer directly for handling
3. When weak light is emitted, observe the red light with a white paper to determine if the internal lens is damaged and replace it.
4. Check the system and the monitoring page, observe whether the output of each signal is normal, measure whether the input voltage of the main system motherboard is 24v. If it is normal, press the soldering button, measure whether the output voltage of MOD+,-, EN+,- is 24v, and whether the output voltage of DA+,- is 1-10v. If the output voltage is incorrect, report to the system manufacturer and replace the motherboard.
5. The system output voltage is normal. Check the laser control line, set the mode, and conduct an internal control light output test. If there is no problem, report it to the laser manufacturer

Second, the laser welding wire feeder does not feed wire
1. The wire feeder is not running. There is a problem with the wire feeder itself
2. If the wire feeder is running, it can be determined that there is no problem with the wire feeder. Continue to follow the operations below
3. If the wire feeder operates by itself and there is a problem with the main board of the wire feeder, replace it
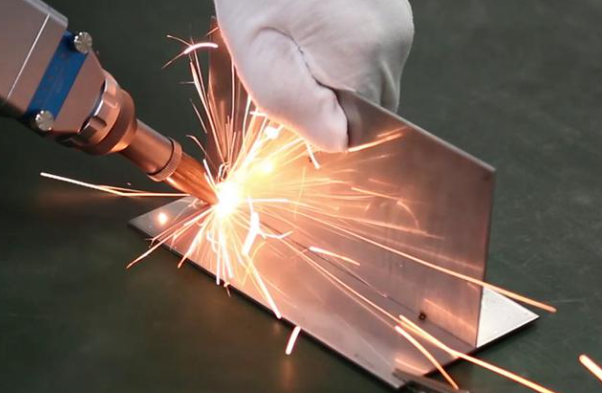
Three, there is a lot of black smoke during handheld laser welding
There is an oil film and an oxide layer on the welded workpiece
2. The wrong welding wire was selected
3. The power is too high and the atmospheric pressure is too low
4. The focus is incorrect
Four. The hand-held laser welding is not good
1. Check the protective lens to see if there are any black spots in the red light
2. Observe whether the motor swing is normal
3. Weak light output: Check if there is interference in the signal line and whether the signal transmission voltage is correct
4. Burn the protective lens
5. Appropriately increase the gas pressure, extend the gas cut-off delay and the gradual switching time, and appropriately reduce the power
V. The problem of poor welding due to the melting of the welding wire in the welding machine
1. Increase the scanning width
2. Increase the welding power, duty cycle and pulse frequency
3. Reduce the wire feeding speed
4. Increase the scanning speed
5. The three-in-one equipment is confirmed to use the welding mode
How to adjust the red light offset of a super strong laser welding machine
1. Software Settings (left and right adjustment) can be fine-tuned by setting the laser center offset on the interface, in the following order: {1. Set}-{2. Change the laser center offset value, move negative values to the right and positive values to the left. The maximum adjustable value in the latest version is +3/-3}. This solution can be fine-tuned left and right. If it still cannot be adjusted by this method, mechanical adjustment should be used
2. Mechanical Adjustment (up, down, left and right adjustment) Before performing mechanical adjustment, please make sure to set the center offset to 0
Abnormal swing of the welding head motor
If the lens is directly burned out and both the sealing ring and the focusing lens are burned out simultaneously, check the surrounding interference sources. If no interference sources are found, it might be a motor wire fault. Just replace the motor wire directly
Laser welding burns protective lenses
1. Increase the air pressure appropriately. Generally, the flow rate should not be less than 15 and the pressure should not be less than 4. It is recommended to use an oxygen pressure gauge with a pressure of no less than 2 kilograms
2. When welding, try to ensure that the welding gun is at a 45° Angle to the sheet metal and do not weld it perpendicularly
3. When setting parameters, try to provide a gradual increase and decrease. For example, the gas opening and closing delay should be 200-500ms, the light opening and closing power should be 20%, and the light opening and closing asymptotic time should be 200-300ms. As shown in the figure, 0 and 4 should not be set. When welding aluminium and galvanized sheets, this material is more prone to damaging the lenses than other materials, and the minimum power should be used for welding.
4. The quality of protective lenses also determines their durability. It is recommended to use original factory lenses
5. At high power, compared with low power, the loss of the lens will increase, which is an uncontrollable range
When none of the above can be handled, the F200 focusing lens and the extended wide scale tube can be replaced to reduce splashing
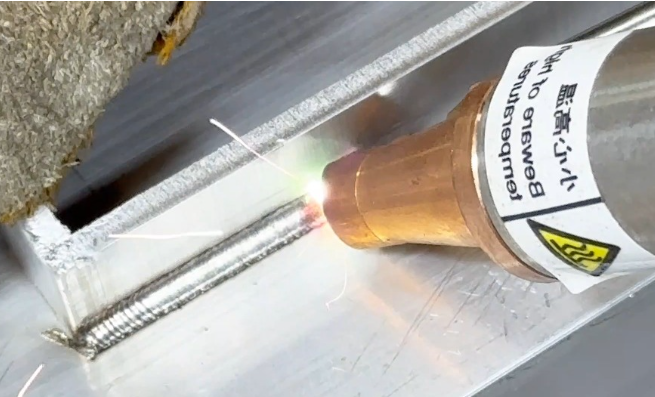
The nozzle of the laser welding machine burns out
Before processing, it should be ensured that: 1. The red light is centered (polarized light will cause the light to hit the through mouth); 2. The appropriate scanning width (generally within 5, usually set to 3); 3. 1. First, emit light from a distance to the ground and check if the copper nozzle is hot. If it is not hot, it indicates that the lens is fine and there is no astigmatism. If it is hot, a damaged lens needs to be replaced. 2. Under the above normal circumstances, if the welding gets hot, it indicates that the material conducts heat during welding. In actual use, the outer corner copper nozzle is more prone to damage than the inner corner. A purple copper nozzle 3 can be used. The welding technique also affects the heating. Try to keep the welding head at a 45° Angle to the material. Welding 4. High-reflective materials such as aluminum plates can also cause the copper tip to heat up, which is uncontrollable
There is no trigger signal on the laser welding head
At the same time, test whether the safety lock signal is normal. In some cases, if the aviation socket is loose, neither signal will be present. The aviation socket is located 80cm behind the wire of the welding gun
2. Directly short-circuit pin 7/8 of Signal Interface one. If it conducts, the motherboard is fine and proceed to the next step of inspection
3. Remove the button and measure the connection from the button to the terminal. In some cases, the wire is broken
4. When there are no issues with the above, it is mostly a problem with the button itself, such as poor contact, etc. The button needs to be replaced
Welding head signal alarm
1. Temperature-related: Generally refers to lens temperature alarms. Usually, first check if the lens is damaged and replace the damaged one. If the lens is normal, directly block this alarm in the Settings. Set the corresponding lens temperature alarm threshold to 0 in the Settings and save it
2. Level type: Generally refers to the alarm logic of the alarm level of the chiller/air pressure/laser. The system will compare your wiring method with your set level. If they are different, an alarm will be triggered. Please note: The alarm signal only accepts passive normally open and normally closed signals. Do not input voltage. Usually, alarms occur due to incorrect alarm level Settings. Just change the corresponding alarm level. If an alarm occurs when an alarm signal is connected and keeps going off no matter how it is changed, then unplug the alarm signal and set it to a low level
The hand-held welding trigger is out of control and keeps emitting light
Open the software monitoring page, press the trigger, and observe whether the trigger signal is conducting normally.
2. If the switch remains on and does not function, measure each of the three parts – the gun tip, the extension cord, and the control box – one by one to check if there is a short circuit. Then, ask the manufacturer for the pin definition diagram to figure out which wire corresponds to which signal. Only then can the problem be identified.
3. First, use the on-off mode to measure the plug of the gun tip to see if it is conducting when the trigger is not pressed. If it is conducting, contact the supplier to discuss whether the trigger switch and the internal circuit of the gun tip can be inspected on site.
4. Short circuit of extension cord: Check if the line is damaged or burned out. If any abnormal points are found, handle them on the spot. Let the customer use it first and replace it later
5. Short circuit of the control box: It is usually due to breakdown of internal components. Contact the supplier for replacement.
Post time: Jul-02-2025